

Tech Talk: Troubleshooting – The Basics Haven’t Changed
Tech Talk | WRITTEN BY AARON TRIMBLE | June 2019
Troubleshooting is an art-form that has somewhat fallen out of vogue in the last decade or two. Just speak to any old-time technician from back in the day. As your vision gets hazy and starts to distort from the beginning of the flashback, the veteran tech will regale you with tales of a day when Directechs, AllData, the Metra FitGuide, Crutchfield and all the other wiring/fitment guides didn’t exist. You actually had to know things. You had to have a foundation of knowledge, not only a rote memorization of common wiring colors in vehicles if you worked in an install bay but also the ability to decipher a problem without the use of YouTube — trying times to be sure. Now, we’re not made of stone here at DD Audio. Heck, we have a YouTube page of our very own that has dozens of great videos with useful information for the enthusiast and career installer alike. However, we also recognize that over half of our inbound tech calls could be alleviated by applying a basic understanding of electronics coupled with a very simple process, the scope of which will be outlined below.
- Identify the problem
- Test the location of the symptom(s) for a solution
- Check obvious things first, then get more complicated
- Power
- Signal
- Settings
- Test upstream
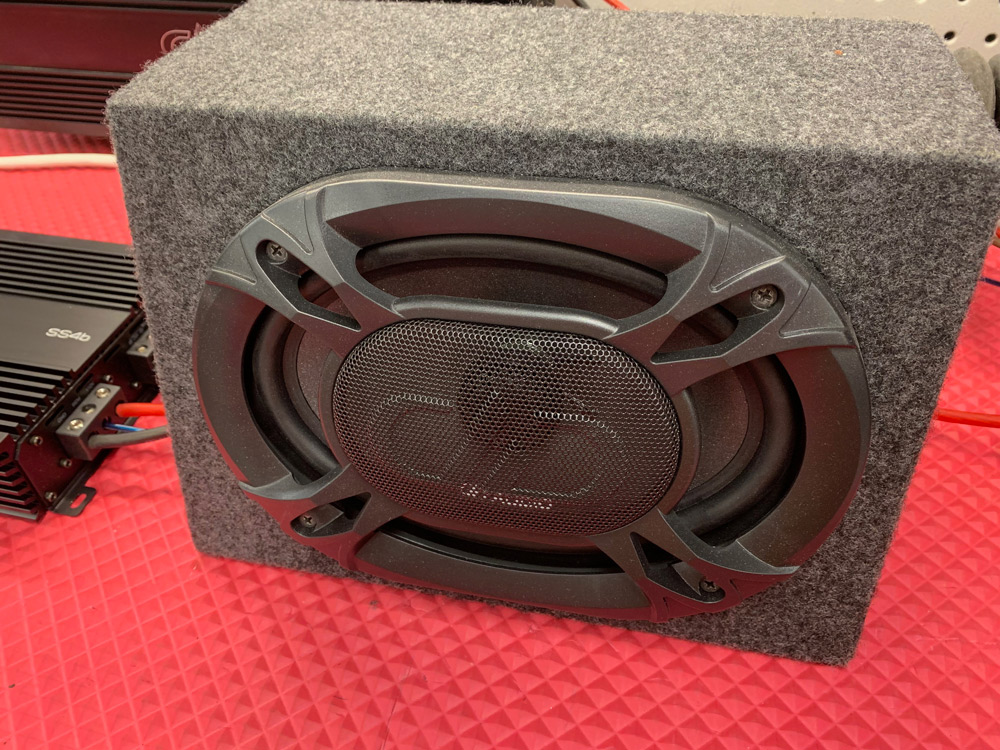
1. Identify the problem. Perhaps you’ve just installed a new set of speakers and an amp in your new car using the factory radio. You get the car put back together and go to take a listen and notice there is no sound after you turn the car on. What could be wrong? By following the rules we outlined above, the first step is to determine what the problem is. There’s no sound. Easy enough, right? This can be a bit more complicated in other situations, maybe the problem only occurs when the volume on the radio is below a certain level, or perhaps only the front speakers play when the radio is on Bluetooth. Whatever the case may be we want to identify exactly how to replicate the problem so we know how to proceed with troubleshooting.
So, in our example, there is no sound no matter what we do. We just added new speakers and a new amp, the radio is the same factory one that was in the vehicle before we changed anything, and it sounded just fine.
2. Test the location of the symptom(s) for a solution. We have 1 of 3 places that could cause the problem, the speakers, the amp, or the signal converter that we used to create an RCA signal from the speaker outputs of the factory radio. The easiest place to look is on the output side of the amp, where the speaker wires connect.
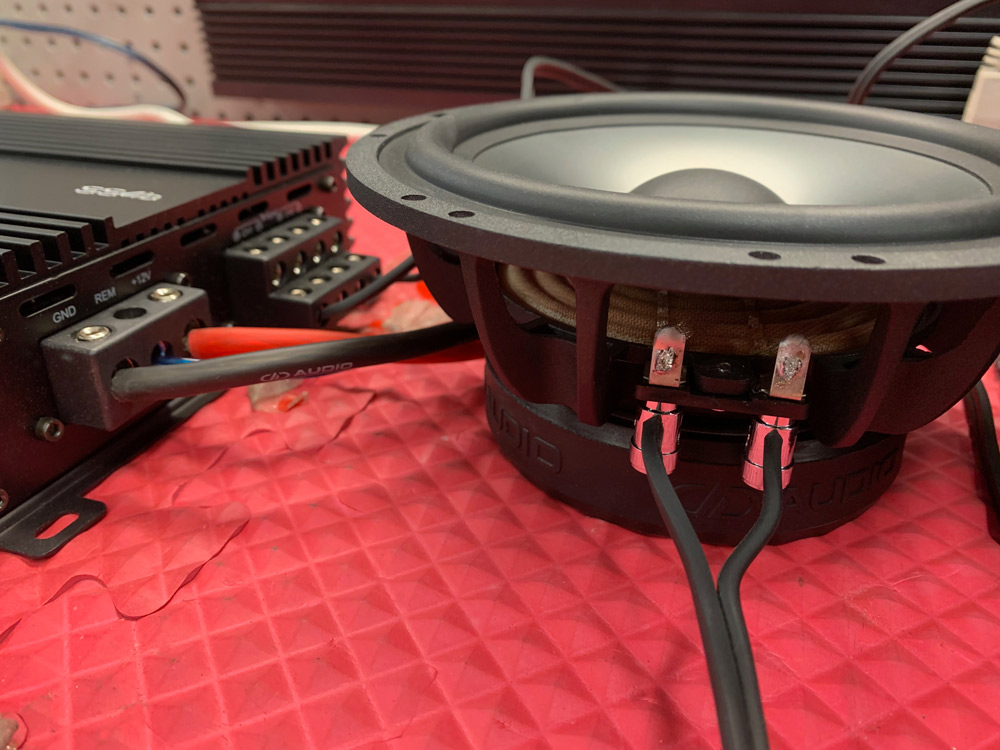
3. Check obvious things first, then get more complicated. By unhooking the speaker wires from the amp we can connect another speaker, that we know works, to the amp and see if we get sound. Testing in between the speaker and the amp tells us 2 things with 1 move. If the test speaker plays, we know there’s an issue with the installed speakers or the speaker wires. If the test speaker does not play, then we know that the amp is either not working correctly or something that affects the amp’s performance is not working correctly. Wouldn’t you know it, the test speaker doesn’t make any volume either.
4. Test upstream. This means we can move up the audio chain and repeat steps 3 & 4 until the issue is resolved. We know the speakers aren’t causing our problem, the next part of the audio chain is the amplifier. The first thing to check here is that the amp is powered on and that the amp is not in protect. It’s important to verify that the fuse on the power wire to the amp is still working and that the ground wire is still secure to the body of the vehicle. If the fuse coming from the battery is bad or the ground is loose or is making poor contact with the body, we need to remedy that. If both power and ground are installed correctly and the amp is on, we need to look at the signal coming into the amp. Testing the signal at the RCA’s going into the amp can be done with a variety of tools. You can use a portable powered speaker, an RTA with an analog input, or most simply, a tone track played through the radio and a multimeter or oscilloscope. Everyone should have a multimeter, so we’ll test using that.

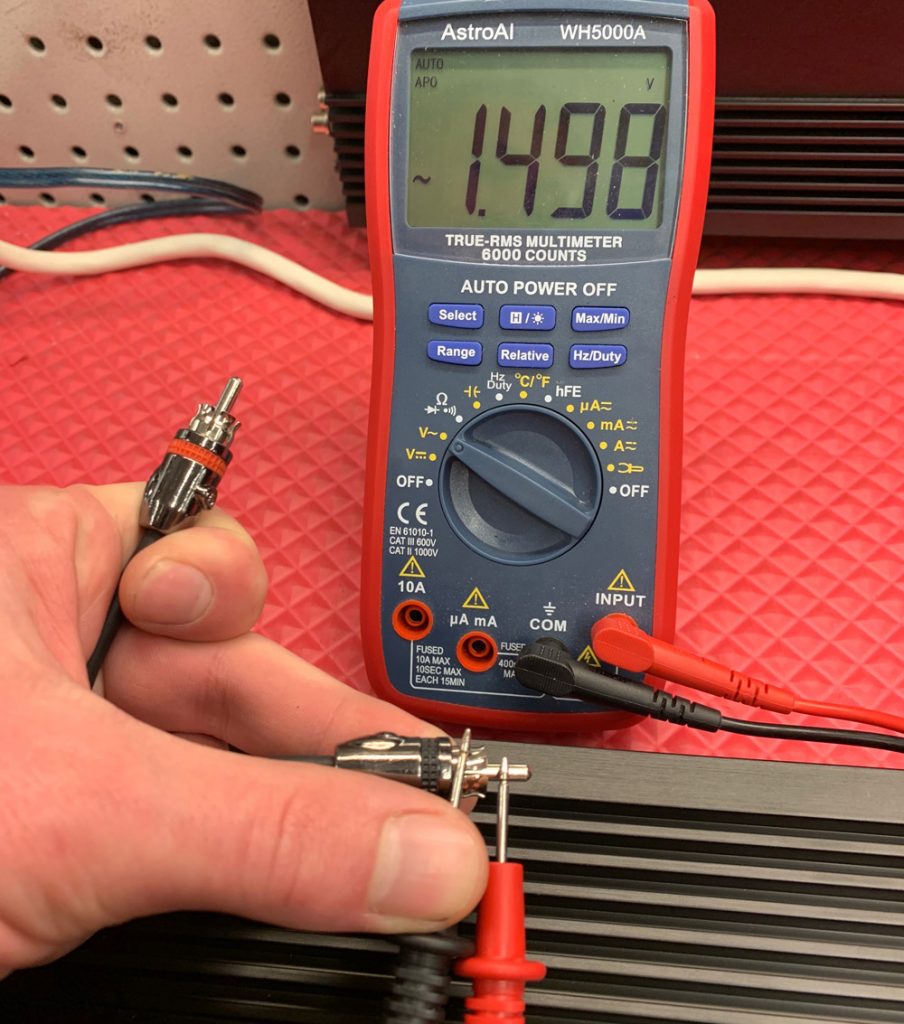
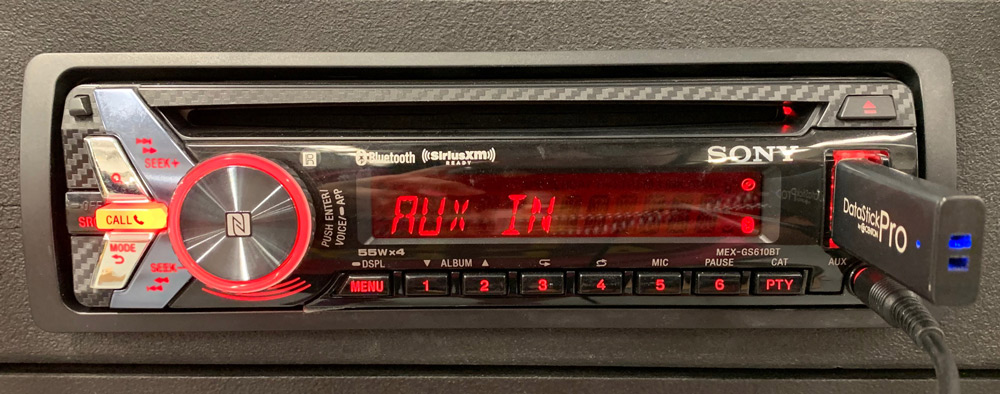
Playing a constant tone through the radio, whether by a CD, your phone with an app, or via your phone using Bluetooth, you should be able to create a signal that is easily interpretable for your multimeter to read. For a speaker amp, a 1000 hz tone is a good one to test with. With the RCA’s disconnected from the amp, attach the positive lead of your multimeter to the post of an RCA end and the negative lead of your multimeter to the shield of the same RCA end. Be sure to have the radio at a volume that you would normally listen to it at. The multimeter should be set to AC voltage for this test. If your multimeter returns a voltage reading, notate the voltage output. If the multimeter continues to read 0 vAC, then we need to check out our Hi/Lo converter.
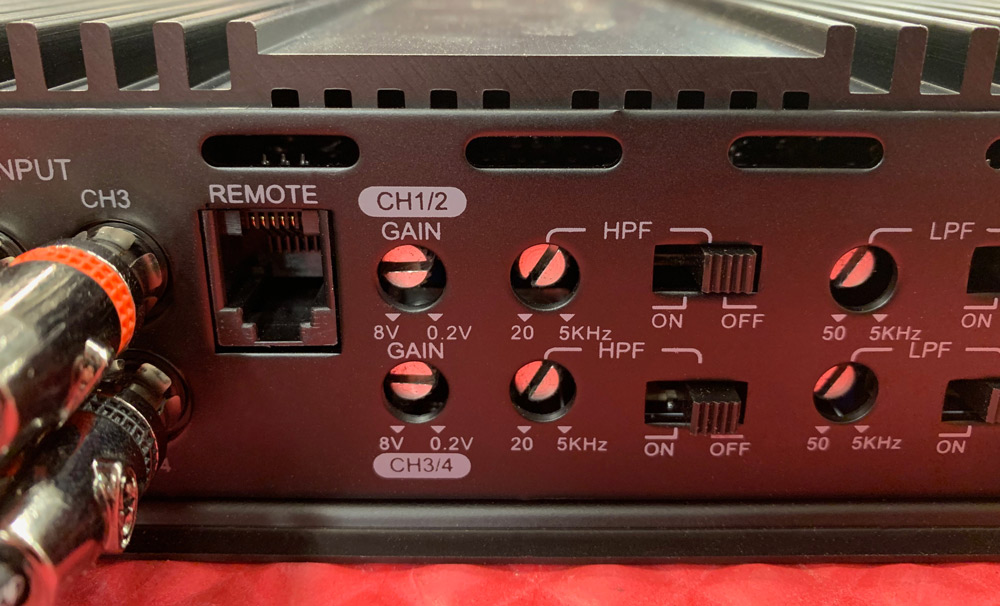
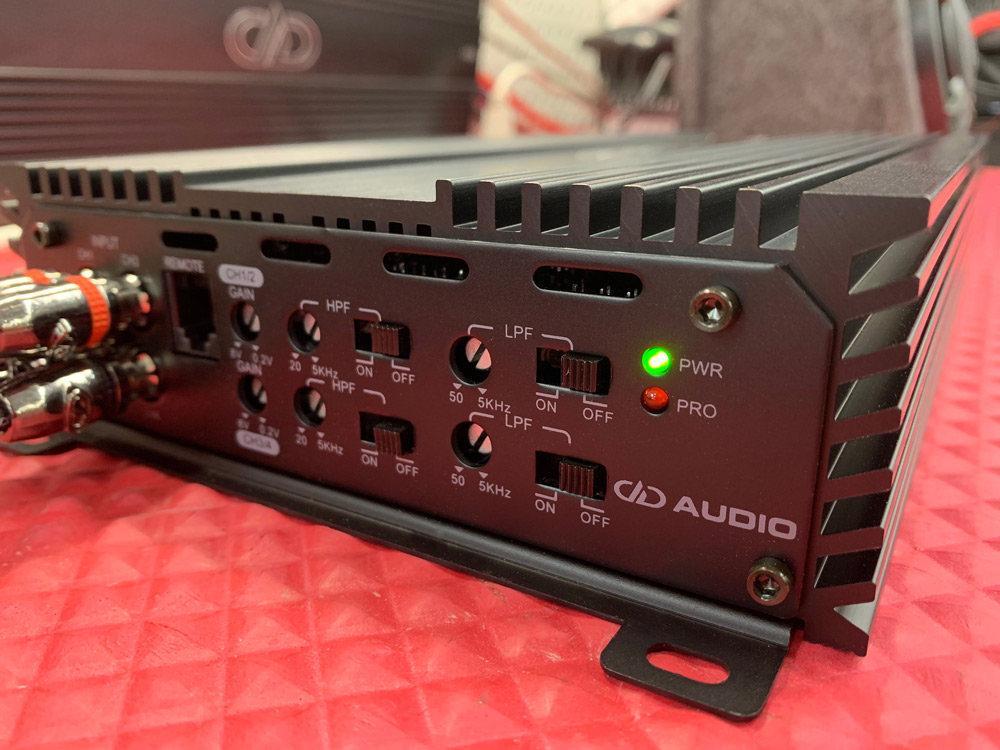
Luckily in our magic example where the writer dictates the outcome of these tests, there is signal coming from the Hi/Lo converter. So we need to check the 3rd section of the amp, the settings. Now, there are a couple things that could cause the signal to appear not to work. The first is the gain. This may seem silly, but if the gain has not been adjusted, there may actually be signal coming through the speakers. It may just be very low, low enough that the volume is difficult to hear, especially if you’re in a noisy area. If you recall that we notated the voltage coming from the RCA’s in our previous test, now would be a good time to match this to the gain settings on your amp. If after setting the gain to the appropriate level, you’re still not getting any volume from your speakers then we need to check the crossover settings as well.
Crossover settings can be easy settings to mess up if you’re not careful. The DD Service team gets a couple amps back a month that work just fine, but are returned to us with the complaint that the amp doesn’t make any sound. This is a malady that our service team lovingly refers to as “crossed gates”, where the HPF is set lower than the LPF. On DD amps, you’ll notice that multi-channel amps allow you to control your filters from below 100 Hz to 5 kHz. If you set your HPF to 100 Hz, it will cut frequencies below 100 Hz. If you set your LPF to 80 Hz, if will cut all frequencies above 80 Hz. The result of these two filters will effectively prevent the amplifier from allowing any sound to pass through to the speakers. Simply turning the LPF off or raising it above 100 Hz should allow signal to pass through to your speakers.
Troubleshooting is a simple process if you approach the issue logically. Obviously, we’ve only scratched the surface of possible issues you can encounter when discovering the root of an issue in a new audio system but what we want to impress is how to go about the process. By eliminating possible causes of your issue, you can narrow down the possibilities to a single source. From there you can determine how best to remedy the issue. In our example, we had no sound. We determined that the speakers weren’t getting signal and that the amp was. So we knew that the amp had to be the source of the problem. It was powering up fine, but a simple error in the crossover settings was causing us to not get any sound. Be thorough, and be deliberate in your testing and soon enough you’ll be a crack troubleshooter.