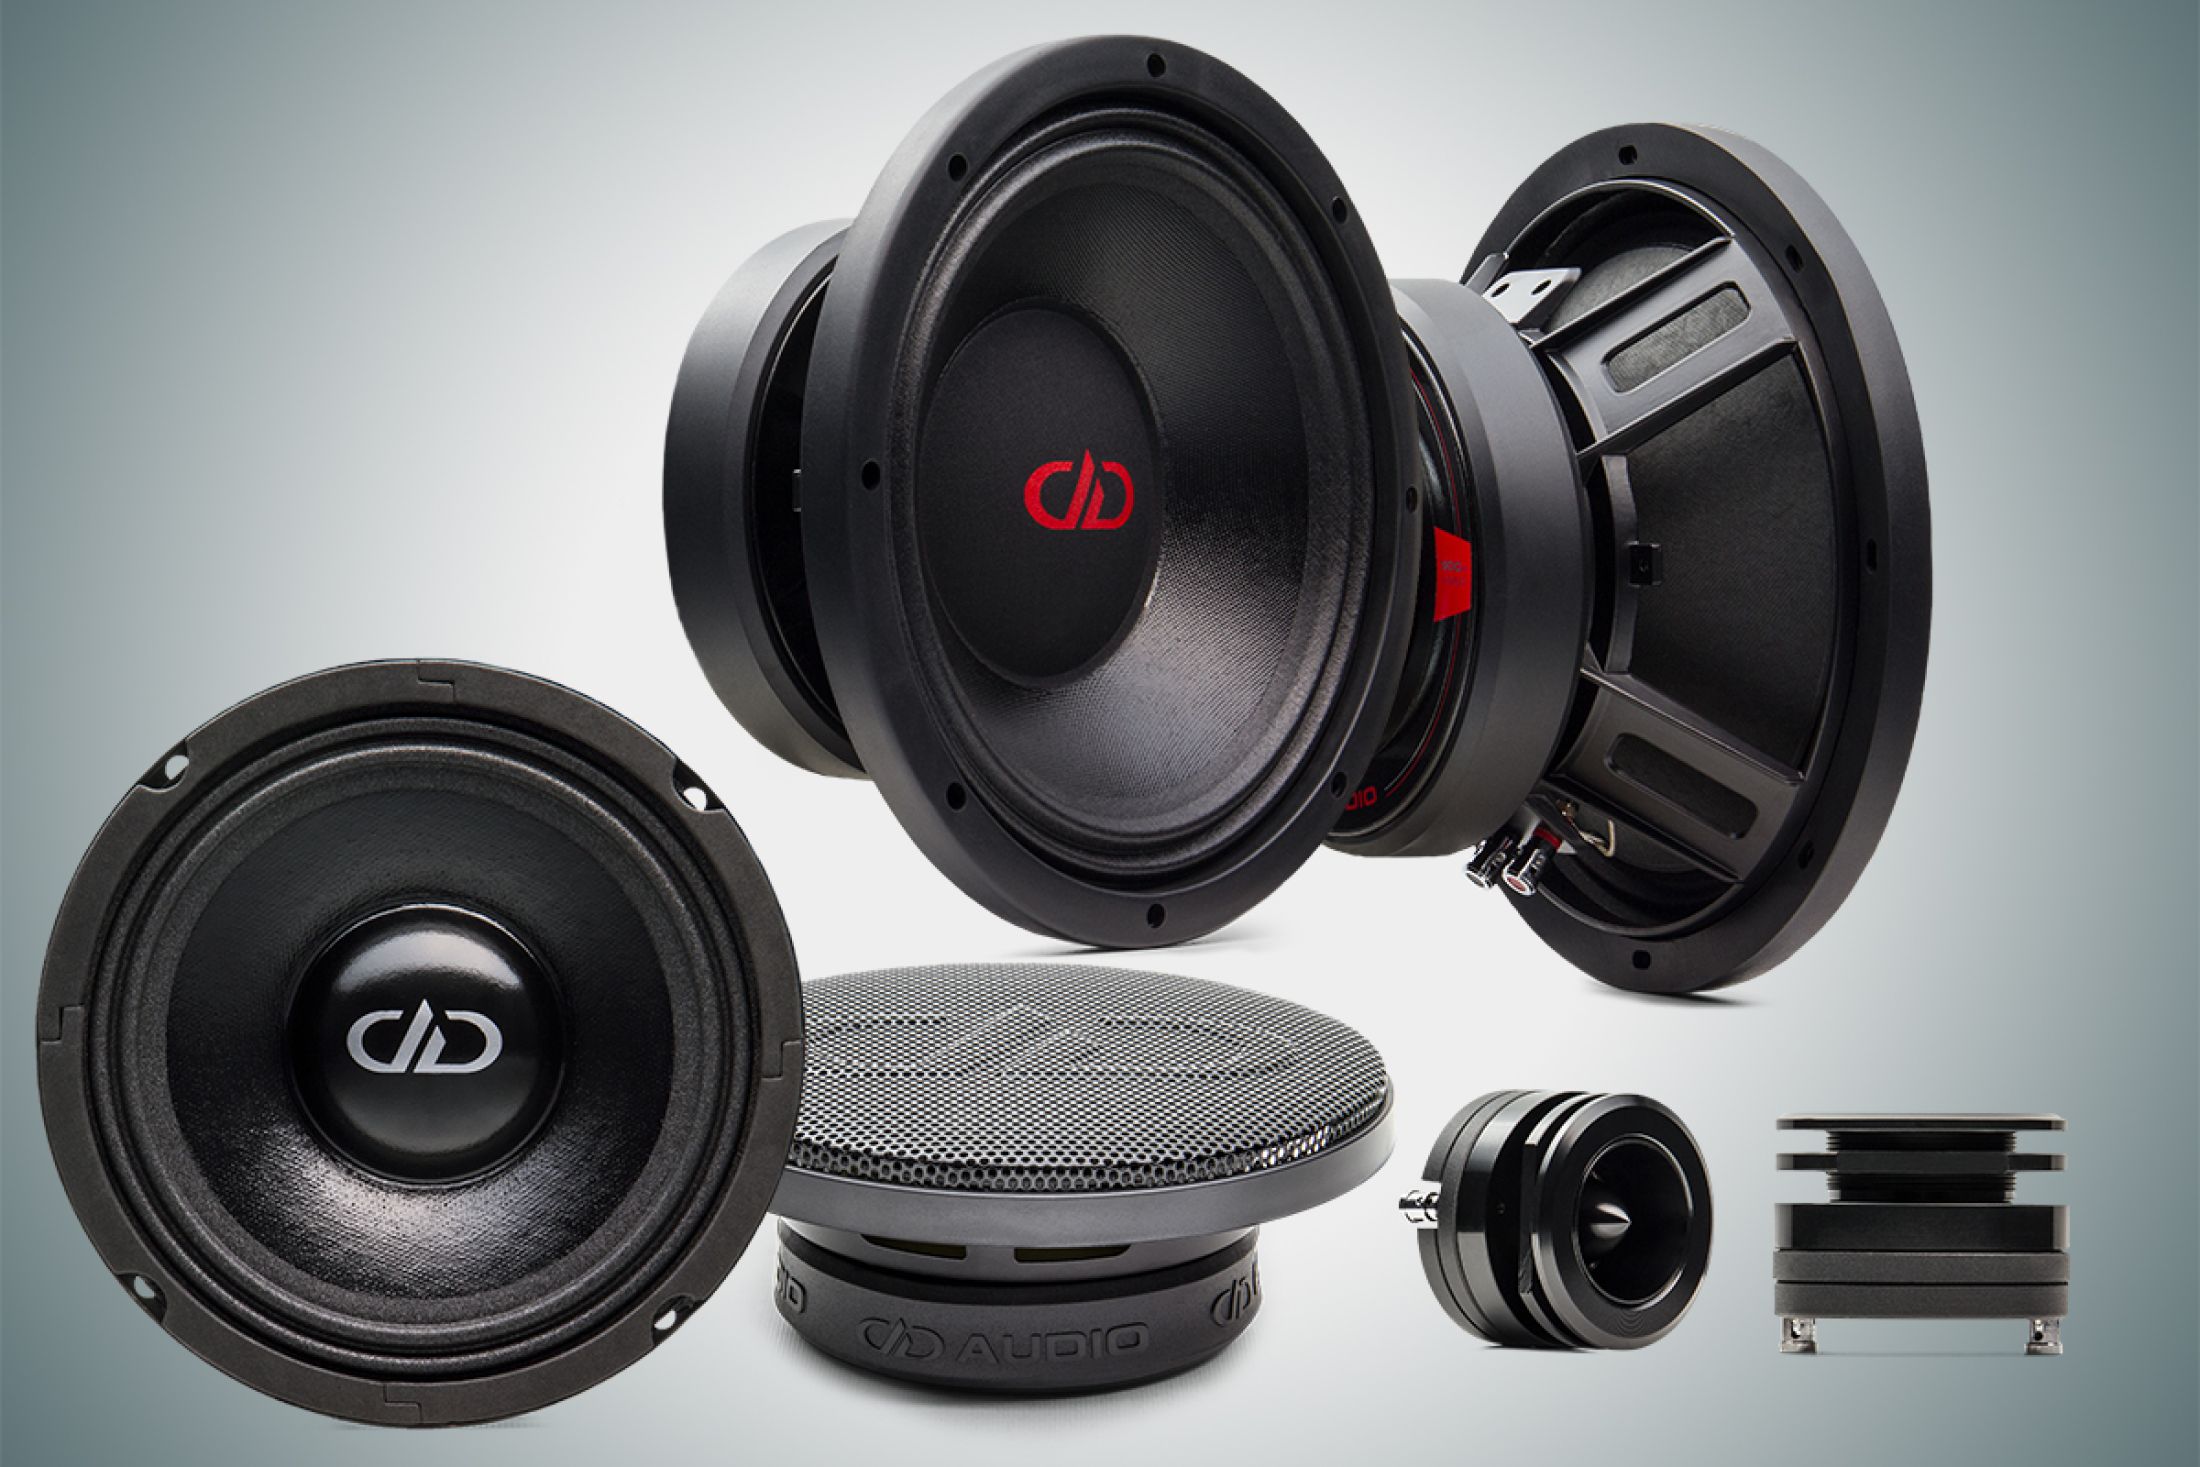
Tech Talk: The Perfect PA Punishment – A guide to melting your face off through the magic of sound
Tech Talk | WRITTEN BY AARON TRIMBLE | April 2019
Let’s start by removing the stigma of PA. PA stands of Pro Audio, that is to say, professional audio. Let us not confuse this with a hastily installed horn speaker rambo’d into a dilapidated door panel partnered with a midrange driver that helplessly dangles from 3 screws while attempting to play through a cone that’s so baked by the sun, it looks like it’s ready to go to a Godfather reenactment dressed as George Hamilton. If you can feel your tinnitus kicking in, you have met this troubadour of the tweeter and you know that this should be the antithesis of what a good PA set-up should aspire to. Instead, conjure a memory of your favorite concert, imagine how the sound surrounded you and you had no choice but to surrender to it’s will. That concert, with stacks so tall they dwarfed the performers on stage, or subwoofers so intense that they shook your very soul are not something that can be replicated by any mere coax. That experience requires some cone area and a whole mess of power, and that is what we’re going to talk about in this week’s Tech Talk.
Now, there are a lot of different opinions on how to execute the perfect PA set-up but since we’re working in a car, not a stage, we’re going to take a unique approach when we consider our front doors, which will be the focus of this article. “Why the front doors?” you might ask. Of course the cargo area of the vehicle might be a better canvas for PA, since you can construct cabinets and put everything on an even plane to minimize phase variances, but most of the folks who’re looking at building an impressive array of aural assault must also consider their substage which will no doubt occupy a fair portion of the cargo areas premium real estate. Don’t think that being relegated to the front doors means we’re going to have to make sacrifices though. Quite the contrary, many doors offer plenty of space for some big beefy speakers.
Now its very easy to put a couple dozen sets of speakers in a door and call it loud… and call it sound quality (if you’re so inclined). It is something else entirely to ensure that the proper speakers have been selected to adequately reproduce all frequencies at very high volumes. The biggest downfall we see folks make is to shove a whole mess of PA style 6.5’s, which here means low excursion and high efficiency drivers, into a door and hope for the best. The detriment to this is that conventional PA mids lack the range of motion to excel at reproducing lower mid-bass frequencies at high volumes without a significant potential for damage or overheating. So the end result is a very loud, but not very impressive set-up. Without the significant impact of some mid-bass drivers in there to round out the sound, you end up sounding like our friend at the very beginning of this article.
DD Audio recommends a PA 3-Way. It’s actually a very simple recipe.
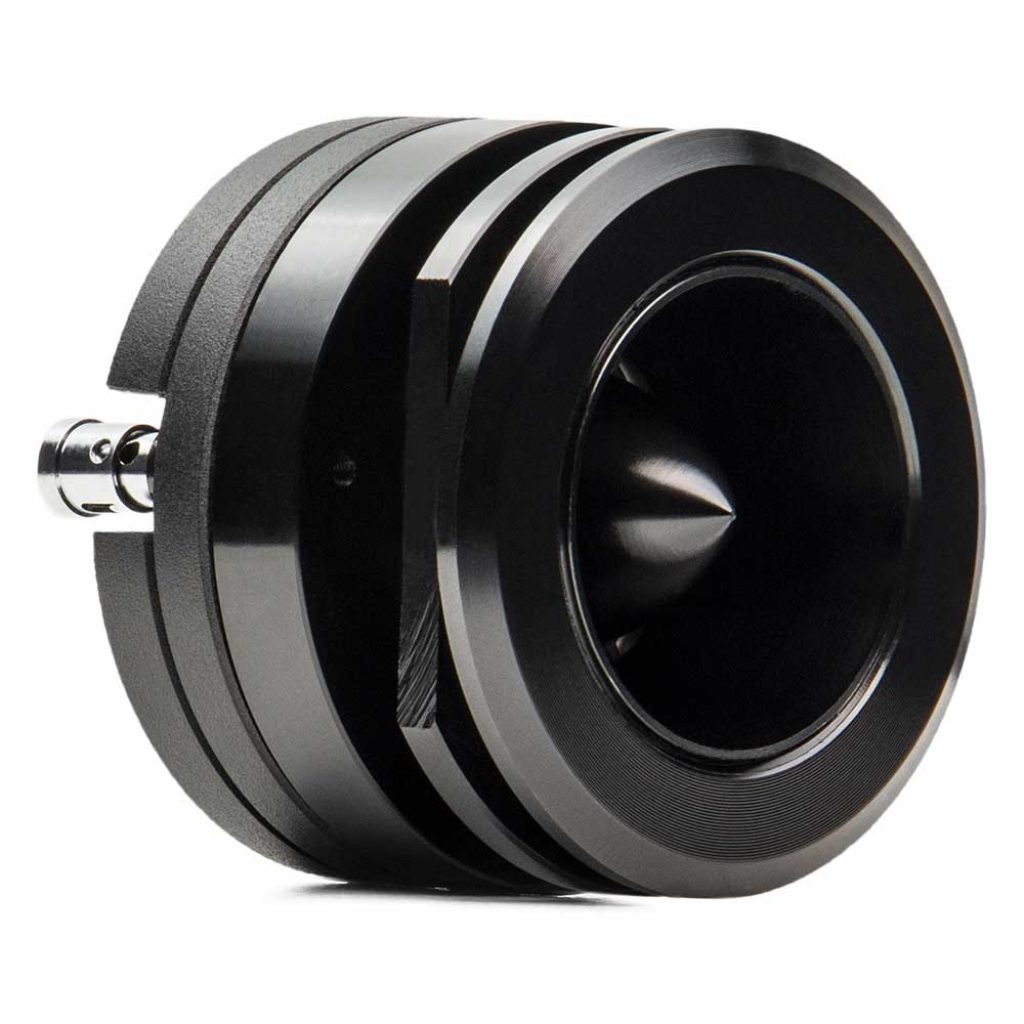
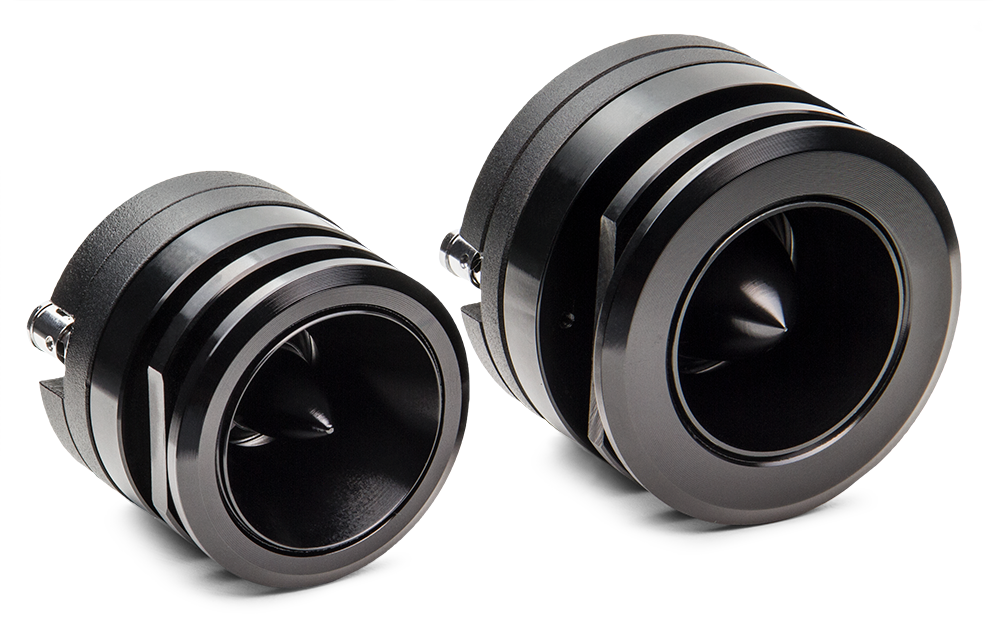
½ – 1 part VO-B Tweeter
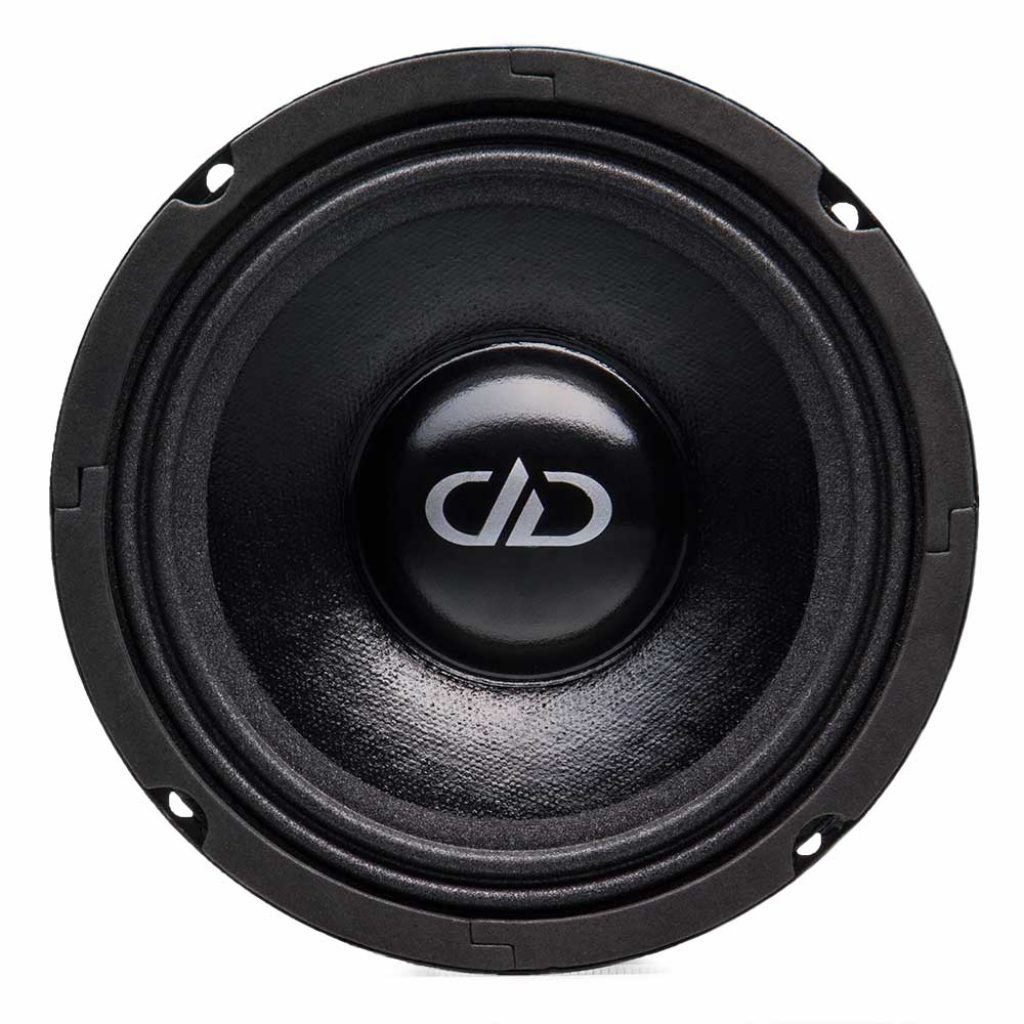
1 part VO-M Mid
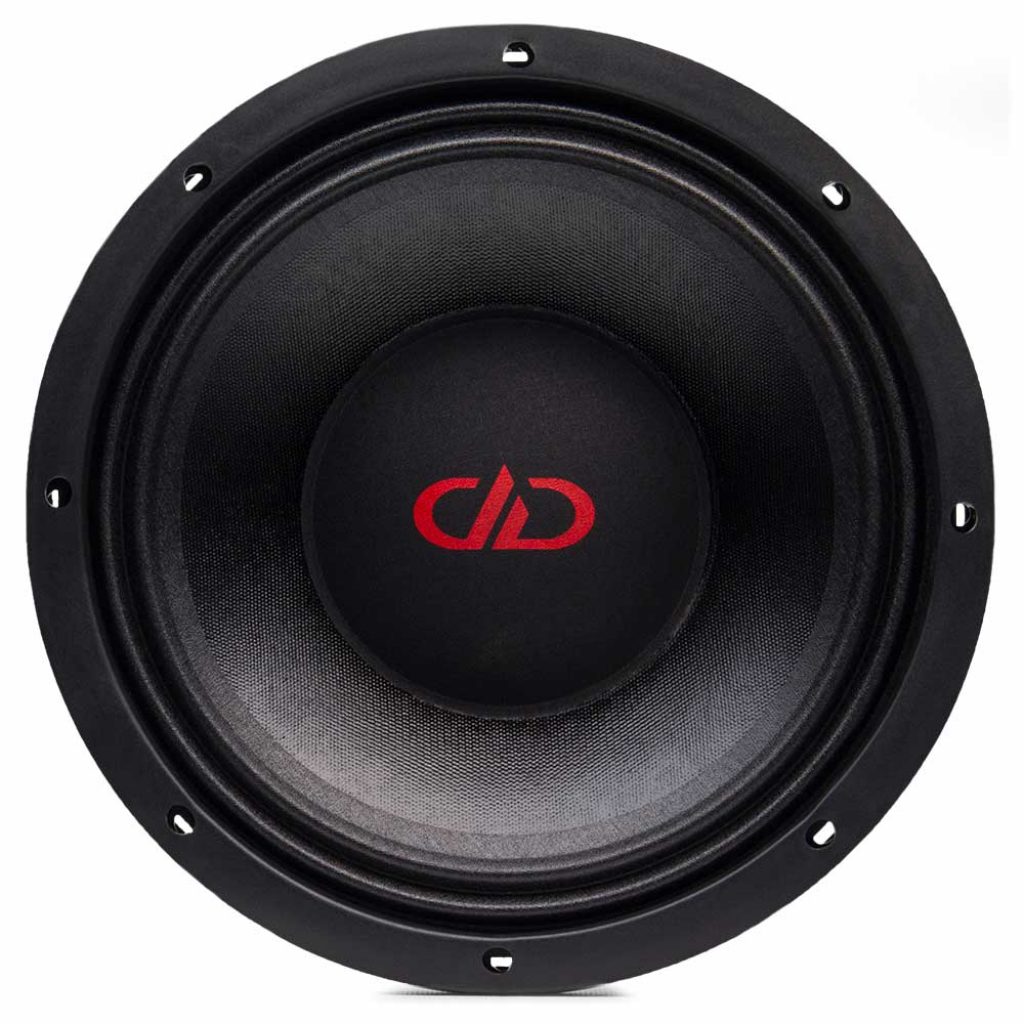
1 part VO-W Mid-Bass
In this application the VO-W plays from roughly 70-350 Hz, the VO-M plays from 350-3500 Hz, and the VO-B should take over everything above 3500 Hz. Bare in mind, these frequency ranges are not hard rules, but they do make for some good guidelines and good starting points when considering your tuning after everything is all said and done. VO-W mid-bass drivers should be planned out first since they are the most challenging to fit in a door. They will, often times, fit best low in the door where sheet metal can most easily be modified or removed to fit speaker magnet and where no window track can be impeded. Let’s say you can manage to fit 2 VO-W10’s down low in the door. Each of those drivers has an effective piston diameter of about 9”. That means we’ve got about 127 square inches of cone area devoted to the mid-bass driver.
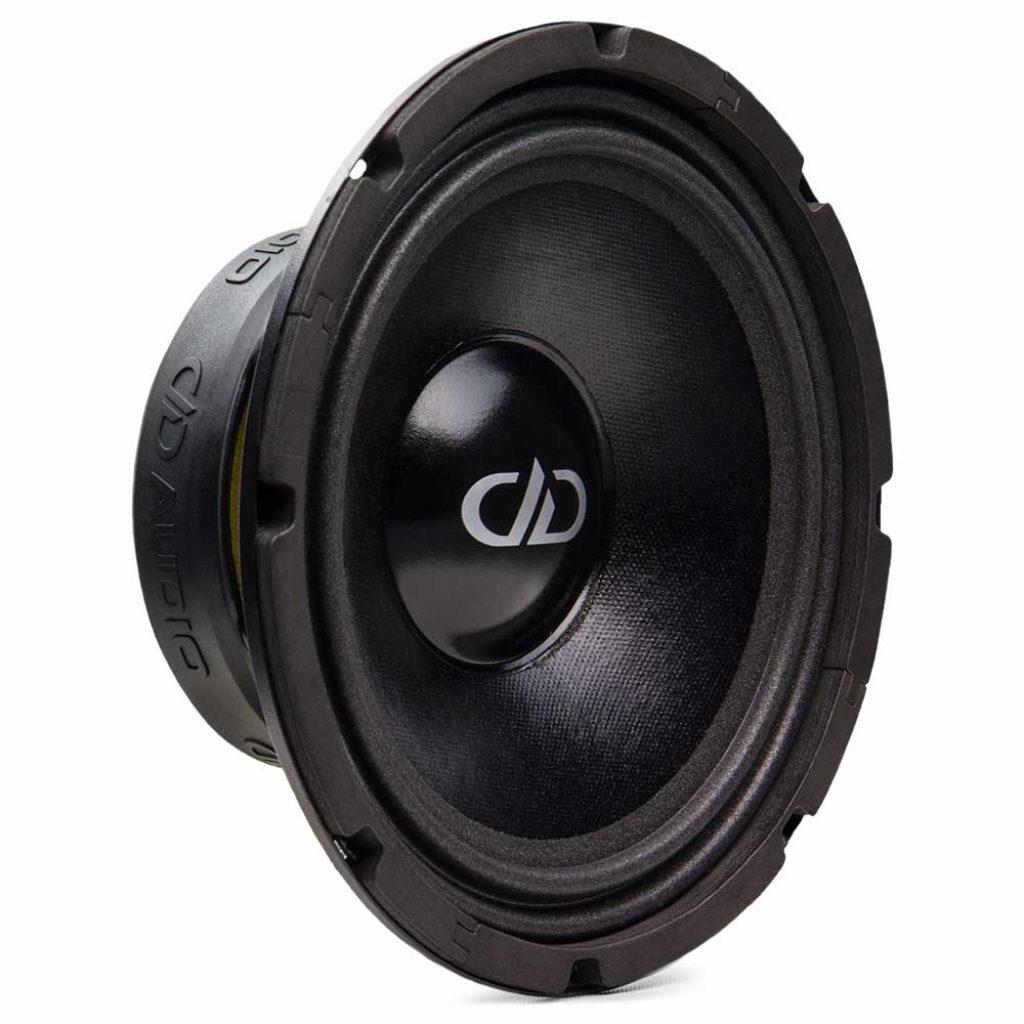
We’ll want to use a similar amount of cone area for our VO-M portion of the system. Now, 6.5’s have about 26 square inches of cone area and 8’s have about 43. This means that we’d need about 5 x 6.5’s or 3 x 8’s to equal the same cone area of the 2 10’s. To avoid any craziness with impedance loads, using 5 of anything should be discouraged when all the drivers are on a single amplified channel. If you’d like to use 6.5’s, just use 4, you’ll have plenty of output, we promise. The tweeters are the last part of the puzzle and they are more up to personal taste than anything. You can very easily go balls to the walls with tweeters and match them 1:1 with your 6.5’s and you’ll have way more tweeter than what is necessary. However, if you’re looking for a more accurate, more linear sound, 2 VO-B 3’s or 4’s will be able to reproduce all the treble your little ears can handle.
So in each of our fabulous new doors, we’re going to have:
2 – VO-W10
4 – VO-M6.5
2 – VO-B4
Now we need to power them. For this monumental task we’re going to employ the high powered work horse of the DD Line-up, the SS4b. The SS4b is an animal, capable of delivering 250 watts per channel into a 4 ohm static load, it has enough power to drive bucket loads of speakers or even a couple small subs. In our install we’re going to be looking at having a fair bit of headroom, or extra power on tap to eliminate some of the potential for clipped signal from the source unit. We’re going to use 2 SS4b’s in this install. This additional power, when used properly, will increase our overall fidelity and create a more sustainable environment for our new speakers. Below, you can see how we’re breaking down the channel usage of the amps to maximize control and power delivery to the speakers.
SS4b #1
Ch 1 – Left Door (2) VO-B4’s
Ch 2 – Right Door (2) VO-B4’s
Ch 3 – Left Door (4) VO-M6.5’s
Ch 4 – Right Door (4) VO-M6.5’s
SS4b #2
Ch 1 – Left Door (1) VO-W10
Ch 2 – Left Door (1) VO-W10
Ch 3 – Right Door (1) VO-W10
Ch 4 – Right Door (1) VO-W10
The advantage of running the amps in this fashion is that each driver type can be isolated to a channel pair where crossovers can be optimized and gains can be tailored to match the other driver types. In an alternate set-up a 3rd SS4b can be employed to increase the number of channels controlling the VO-M6.5’s and increase the overall volume of the system if necessary. The downfall of this is that one of the SS4’s does end up running all the VO-B4’s, which really is overkill, a smaller amp can certainly be put to use for this purpose, but then they don’t all match… and who wants that?
This system is ready to rock. It, when accompanied with a suitable install, will be able to provide abundant amounts of volume to combat any extreme sub stage. This system can also be the cornerstone of your next bonfire party, car show tunes, or anything else you can imagine. Remember, it’s not always about how many speakers you can shove in the doors, it’s about which speakers you shove in the doors and how you choose to use them.
Check out the Be-All-End-All of Subwoofers!
